Before downloading and installing the DM-RTA software you need to power up your DM-RTA and connect it to your computer via the included USB cable.
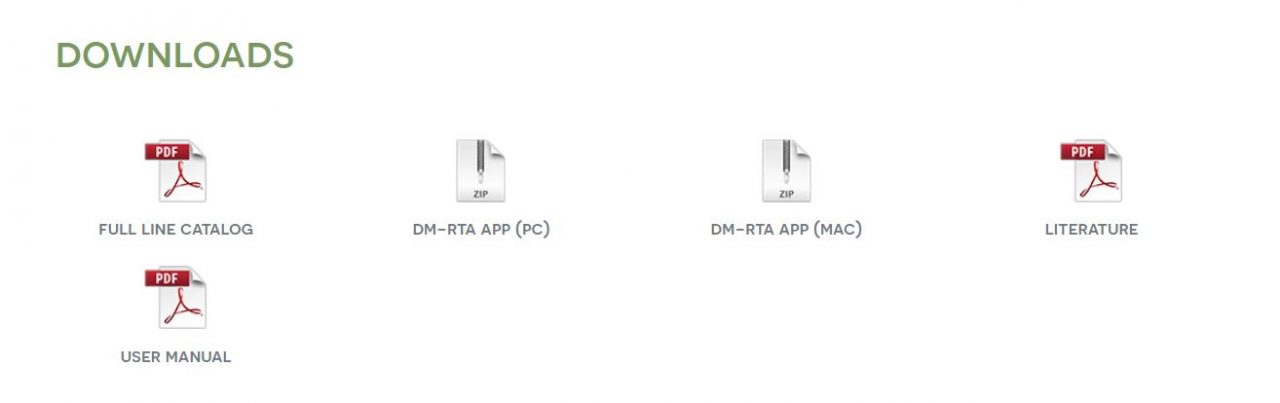
Download the software for Windows (PC) from the Downloads section of the DM-RTA product page here.
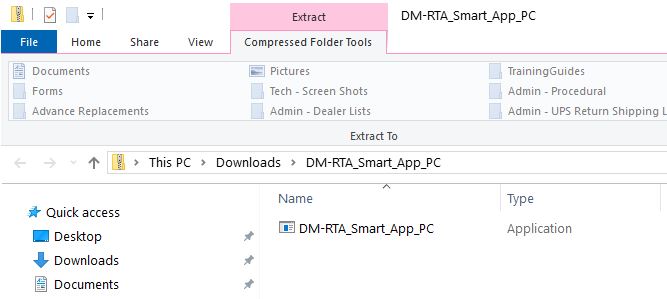
After downloading, the DM-RTA_Smart_App_PC Zip folder should be in your Downloads folder.

Double click the Zip folder to open, and then double click on the DM-RTA_Smart_App_PC application file to start the installation process.
If you get the “Windows protected your PC” pop up select More Info and Run Anyway.

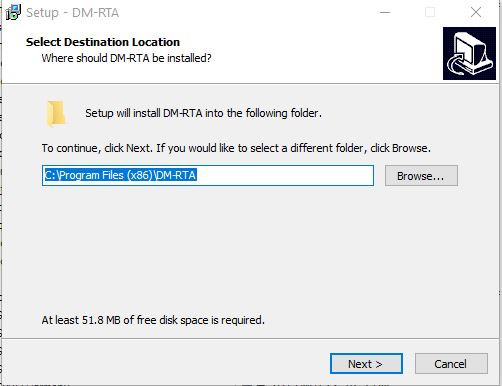
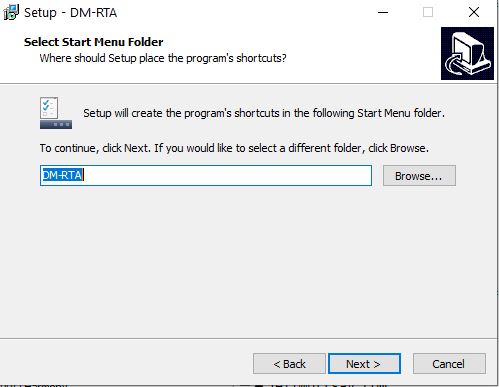
The setup wizard will start up, click Next for the first 3 windows that pop up:
Select Destination Location:
Select Start menu folder:
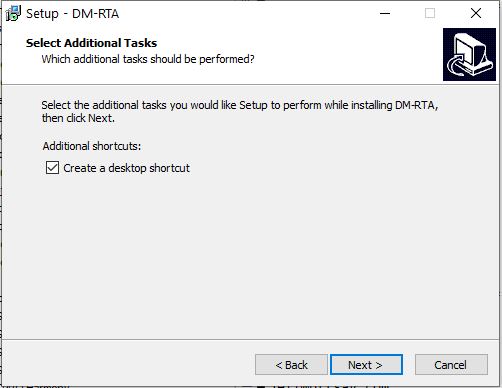
Select Additional Tasks: check “Create a desktop shortcut” if you want a shortcut.
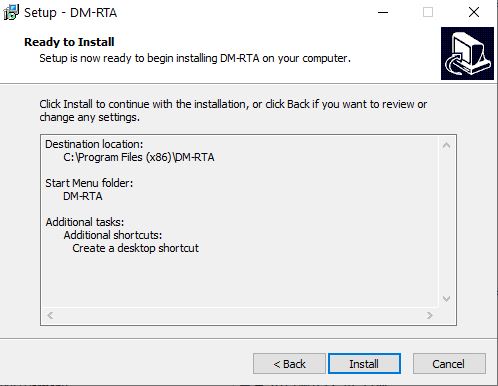
Ready To Install – Click Install. The software installation will start.
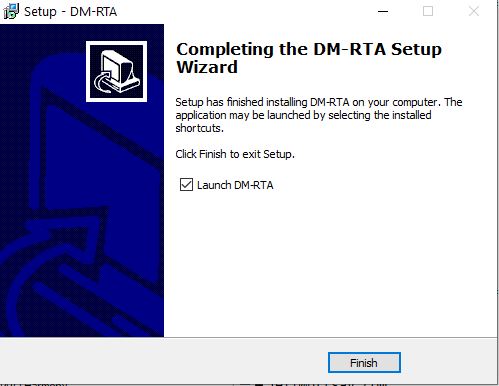
When the installation is complete you should see the “Completing DM-RTA Setup Wizard” screen.
Check the box: Launch DM-RTA and click Finish.
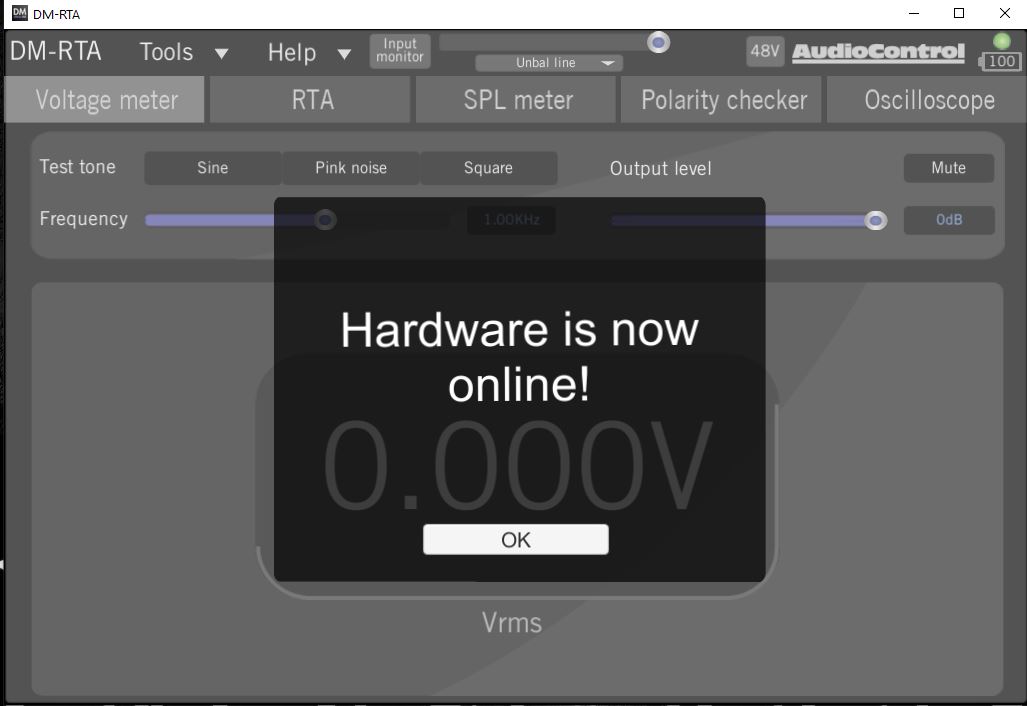
Once the software launches you should see the following confirmation:
To check the version of your currently installed DM RTA firmware select the Help drop down menu > choose About.
Click here for installation instructions for Mac.
Click here for information on how to connect AudioControl calibration microphones
Click here for a DM-RTA Checklist